how to install OpenMC on Windows using WSL
If you want to get started playing with the more technical side of nuclear engineering, a great way to start is by using the open-source Monte Carlo code OpenMC. OpenMC only runs on Linux, but through the help of Windows Subsystem for Linux, you can run it on your windows machine without the need for dual-booting or virtual machines. This took me forever to figure out as a novice Linux user, so I wrote up my process for anyone in the future. This is adapted from:

All of which you should check out for further information or if you are running into issues. You can also download the PDF version if you get tired of my beautiful CSS.
sections
Installing WSL - Installing Conda - Installing OpenMC - Using VSCode/Jupyter
Setting up Windows Subsystem for Linux (WSL)
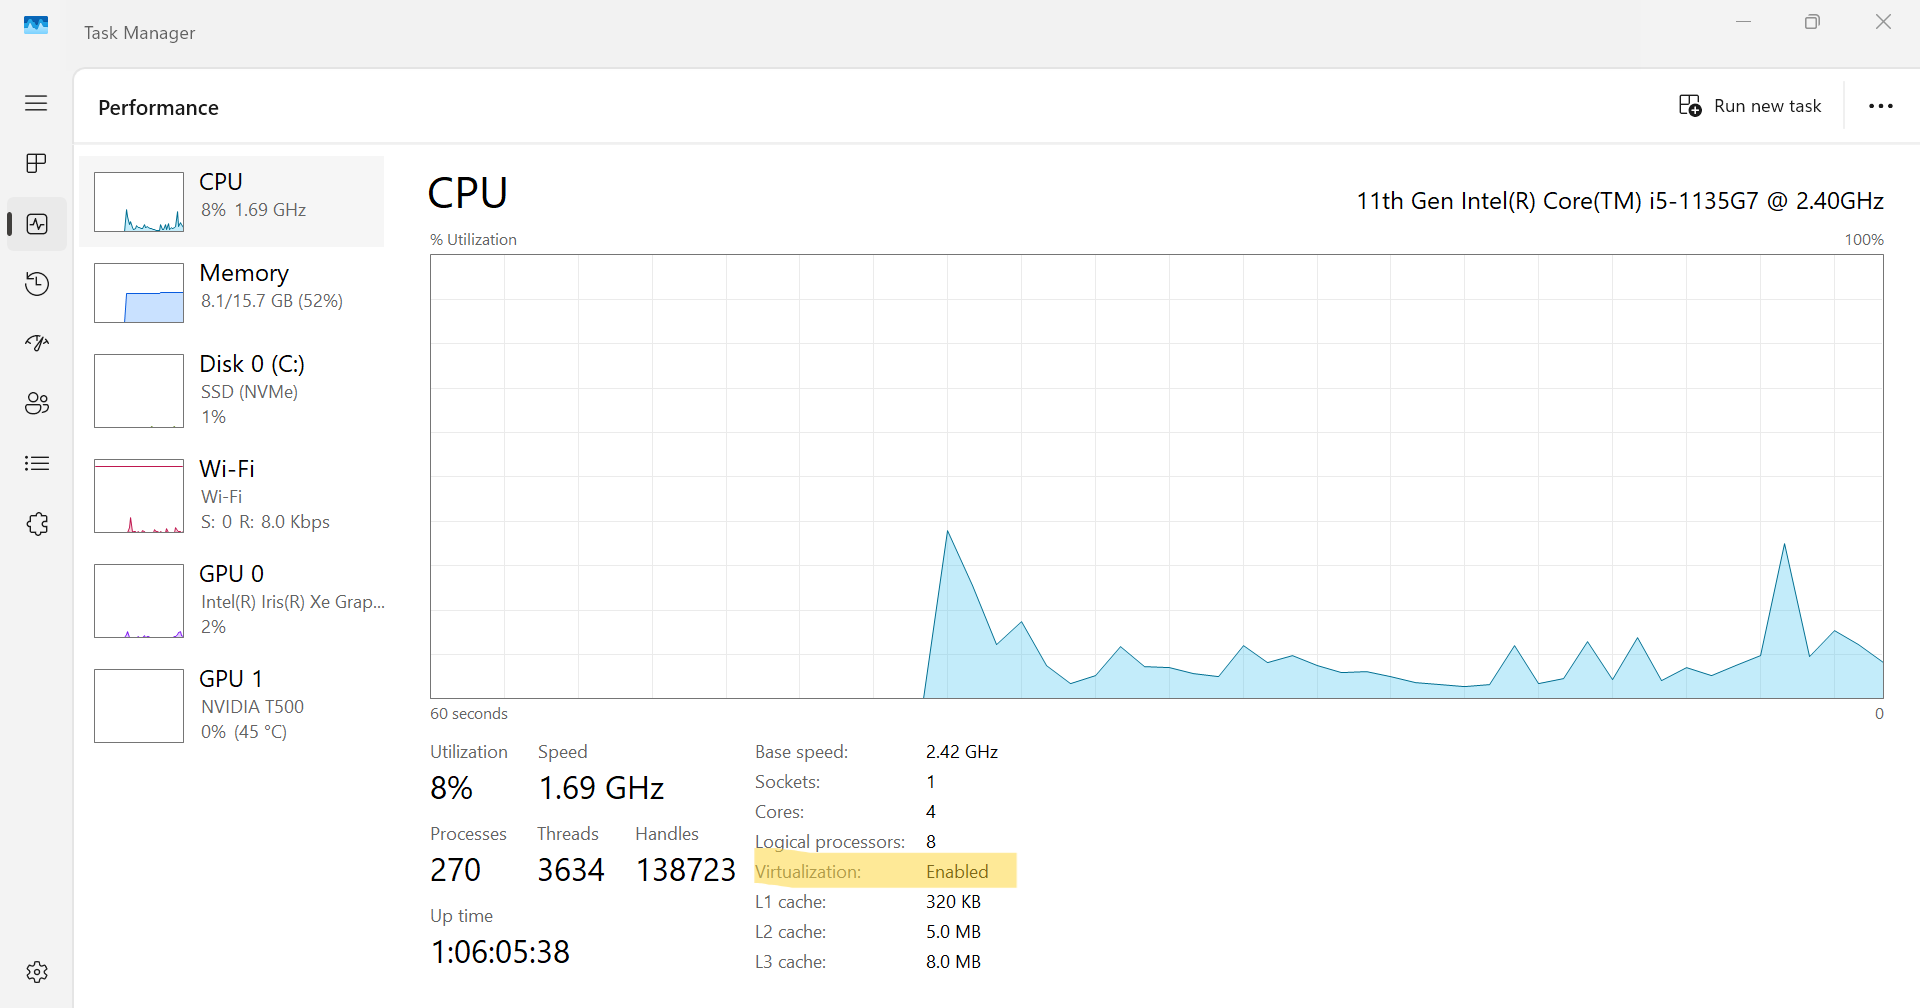
1. In the performance tab of Task Manager, Check if Virtualization is enabled in the CPU section. This should say enabled, but if not, follow the steps in
this paper to enable it in Bios.
2. Open the Windows PowerShell or Command Prompt in administrator mode
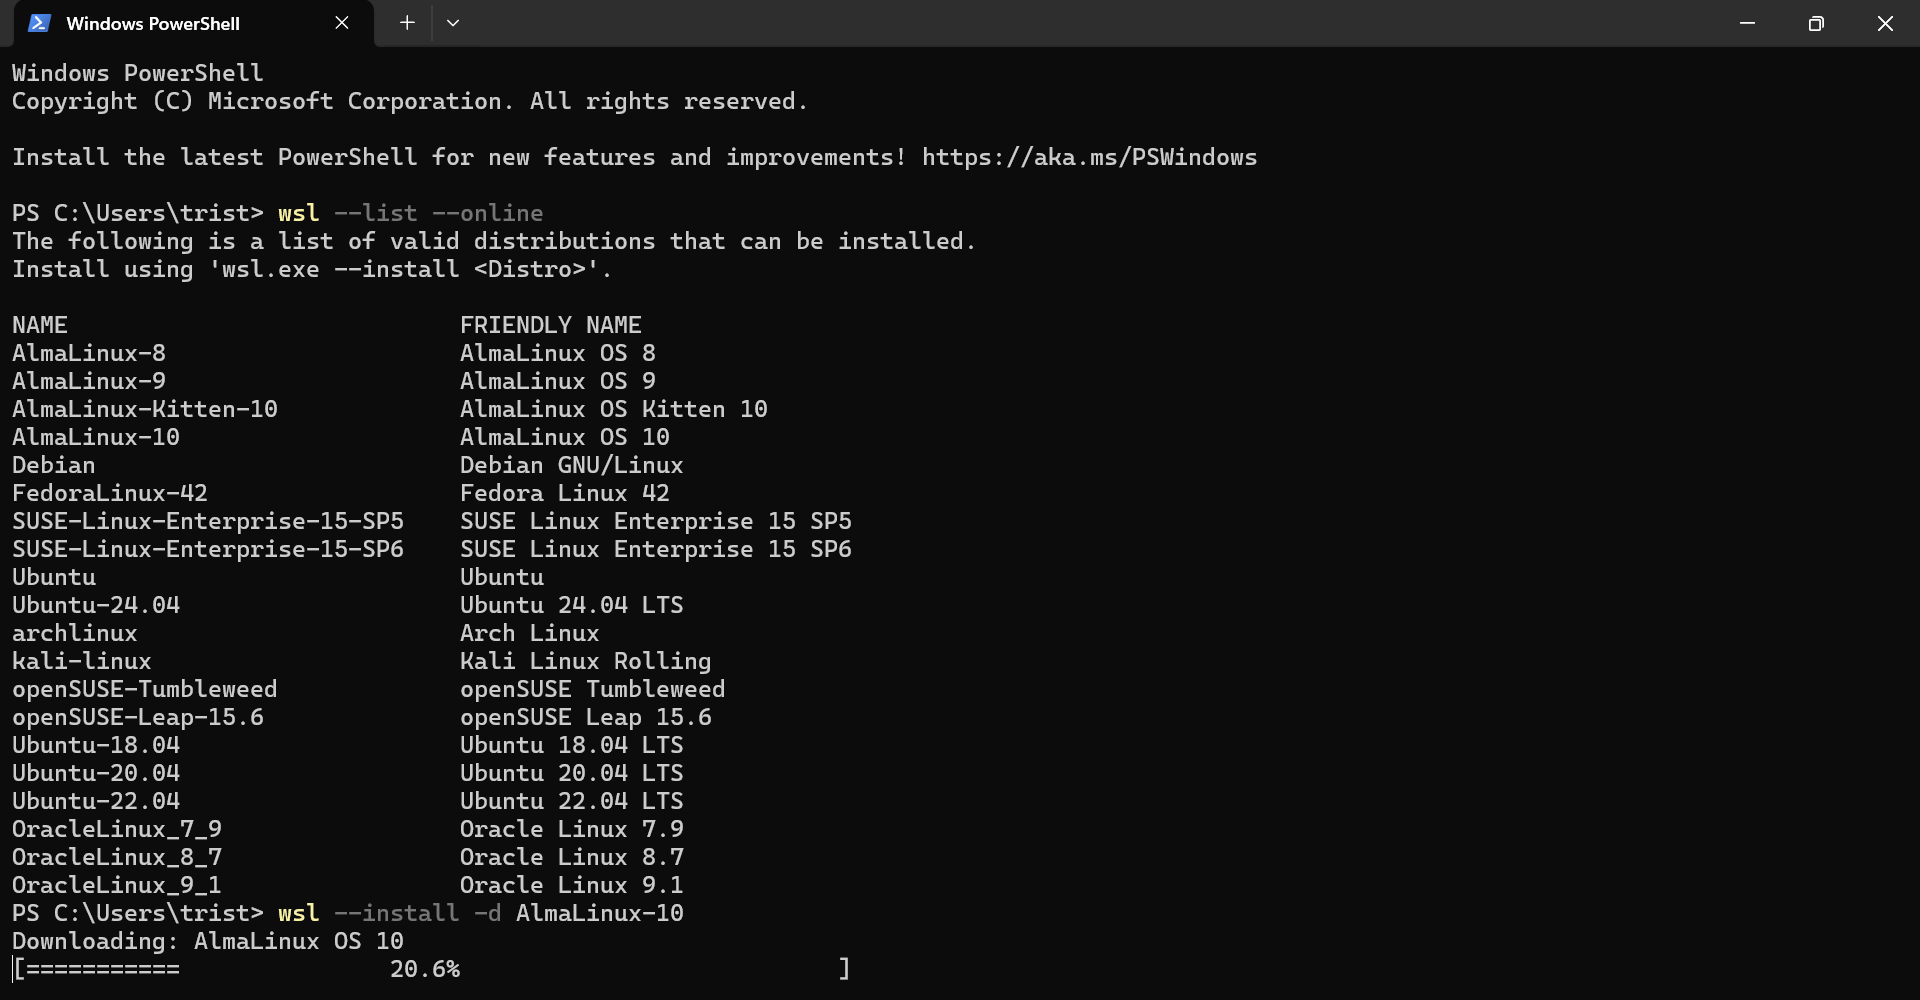
3. Install WSL using the wsl --install command. This will install Ubuntu by default, but your distribution can be changed after.
4. Get a list of the available Linux distributions (distros) using
wsl --list --online
You can't go wrong with Ubuntu, others like Arch or Debian, but I chose to use AlmaLinux because it's the preferred distro of CERN and Fermilab and I think that's wicked.
5. If you want to change your distro, you can run the command
wsl --install -d (name of distro)
You can remove distros by running
wsl --unregister (name of distro)
6. You can now access WSL by typing wsl into the PowerShell or command line, or just typing wsl into the search bar.
Step 1:
 Steps 2-5:
Installing Conda
Now that we have a Linux terminal on our PC, we will use it to install Conda (or a smaller version, Miniconda or Miniforge). With Conda we will be able to install OpenMC. I am using Miniforge for this, but I believe that Miniconda will work the same and can be installed with the same instructions.
7. On the CONDA website, download the most recent version of Miniconda for Linux
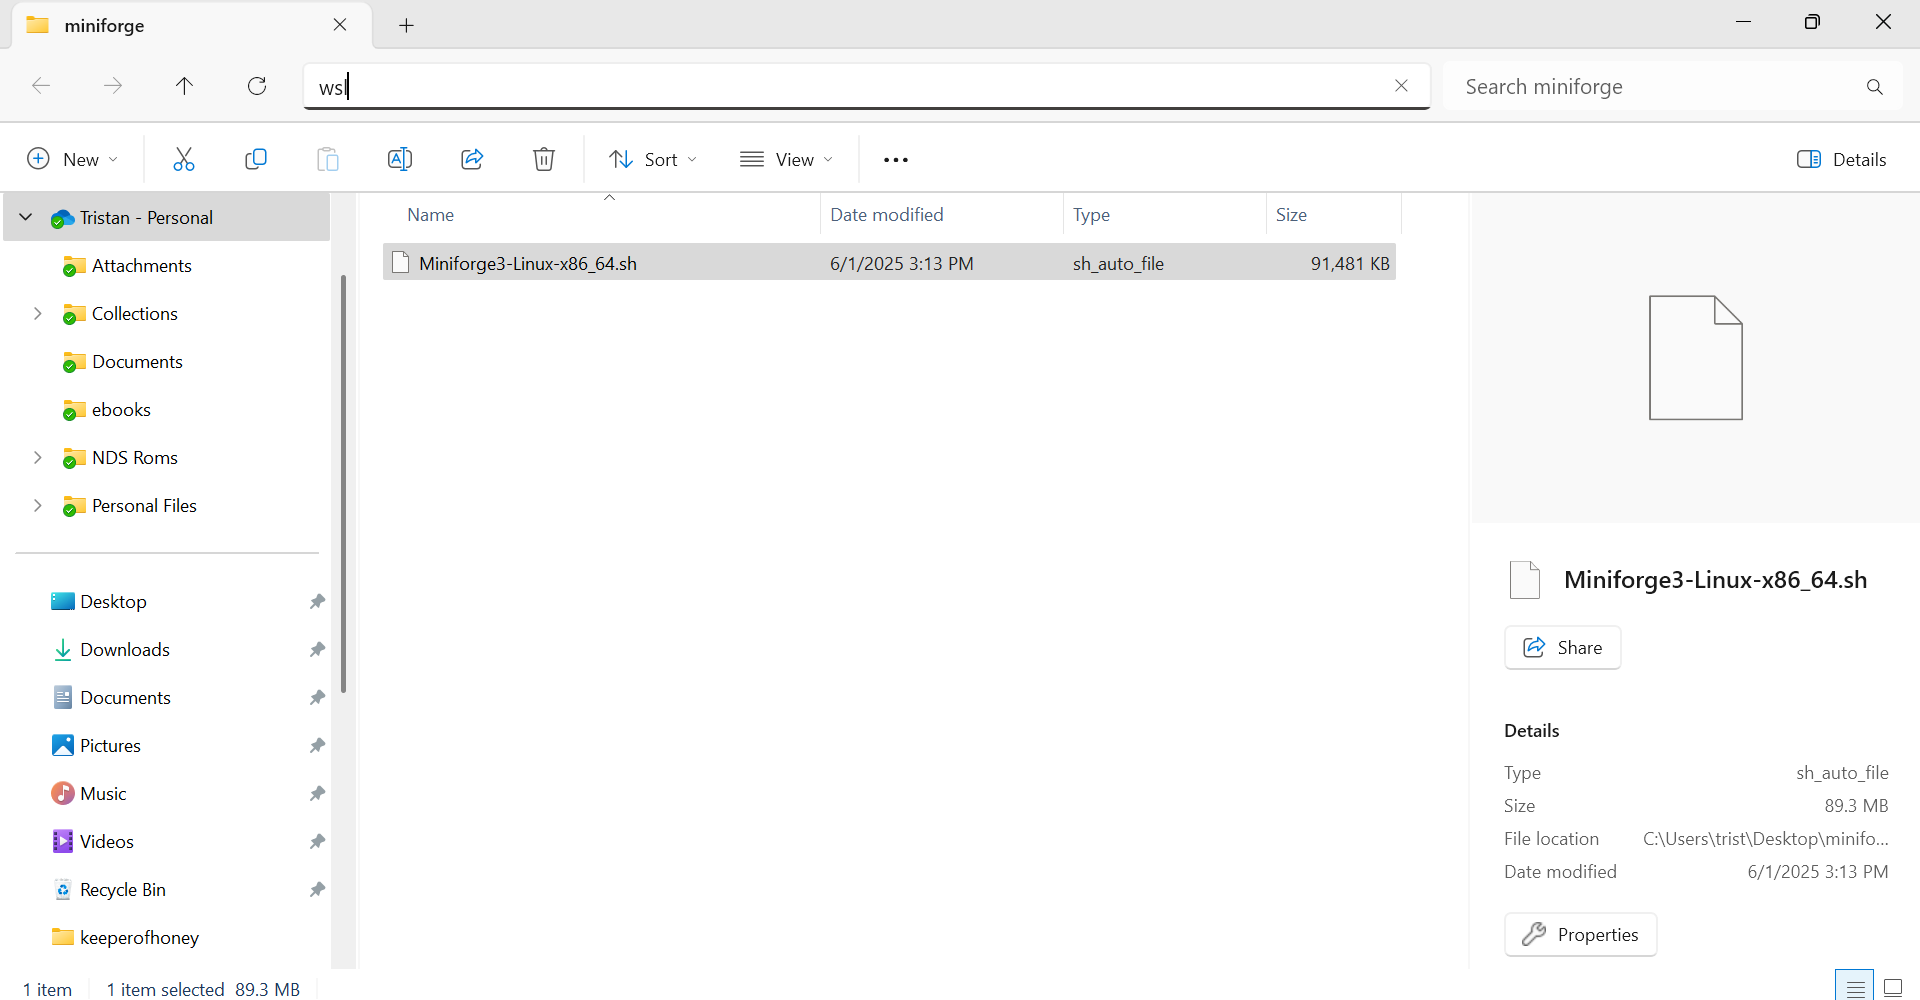
8. Find the folder where the file was downloaded to (probably downloads) and type wsl into the navigation bar. This will open a Linux terminal for that directory.
9. To install this file, type
bash (filename) with the filename being the name of the Miniconda file you downloaded. For example,
bash Miniconda3-latest-Linux-x86_64.sh
10. According to the Tutorial I followed by Willian Vieira de Abreu and Artur Silva, you don't want to be working in the “base” environment. You can tell you're in the base when it says (base) at the beginning of the line. To prevent this, you can run
conda config --set auto_activate_base False and open a new terminal instance and it should be good.
 Step 9:

Installing OpenMC
We have made it! Using our Linux terminal and Conda, we are now able to install OpenMC.
11. Run
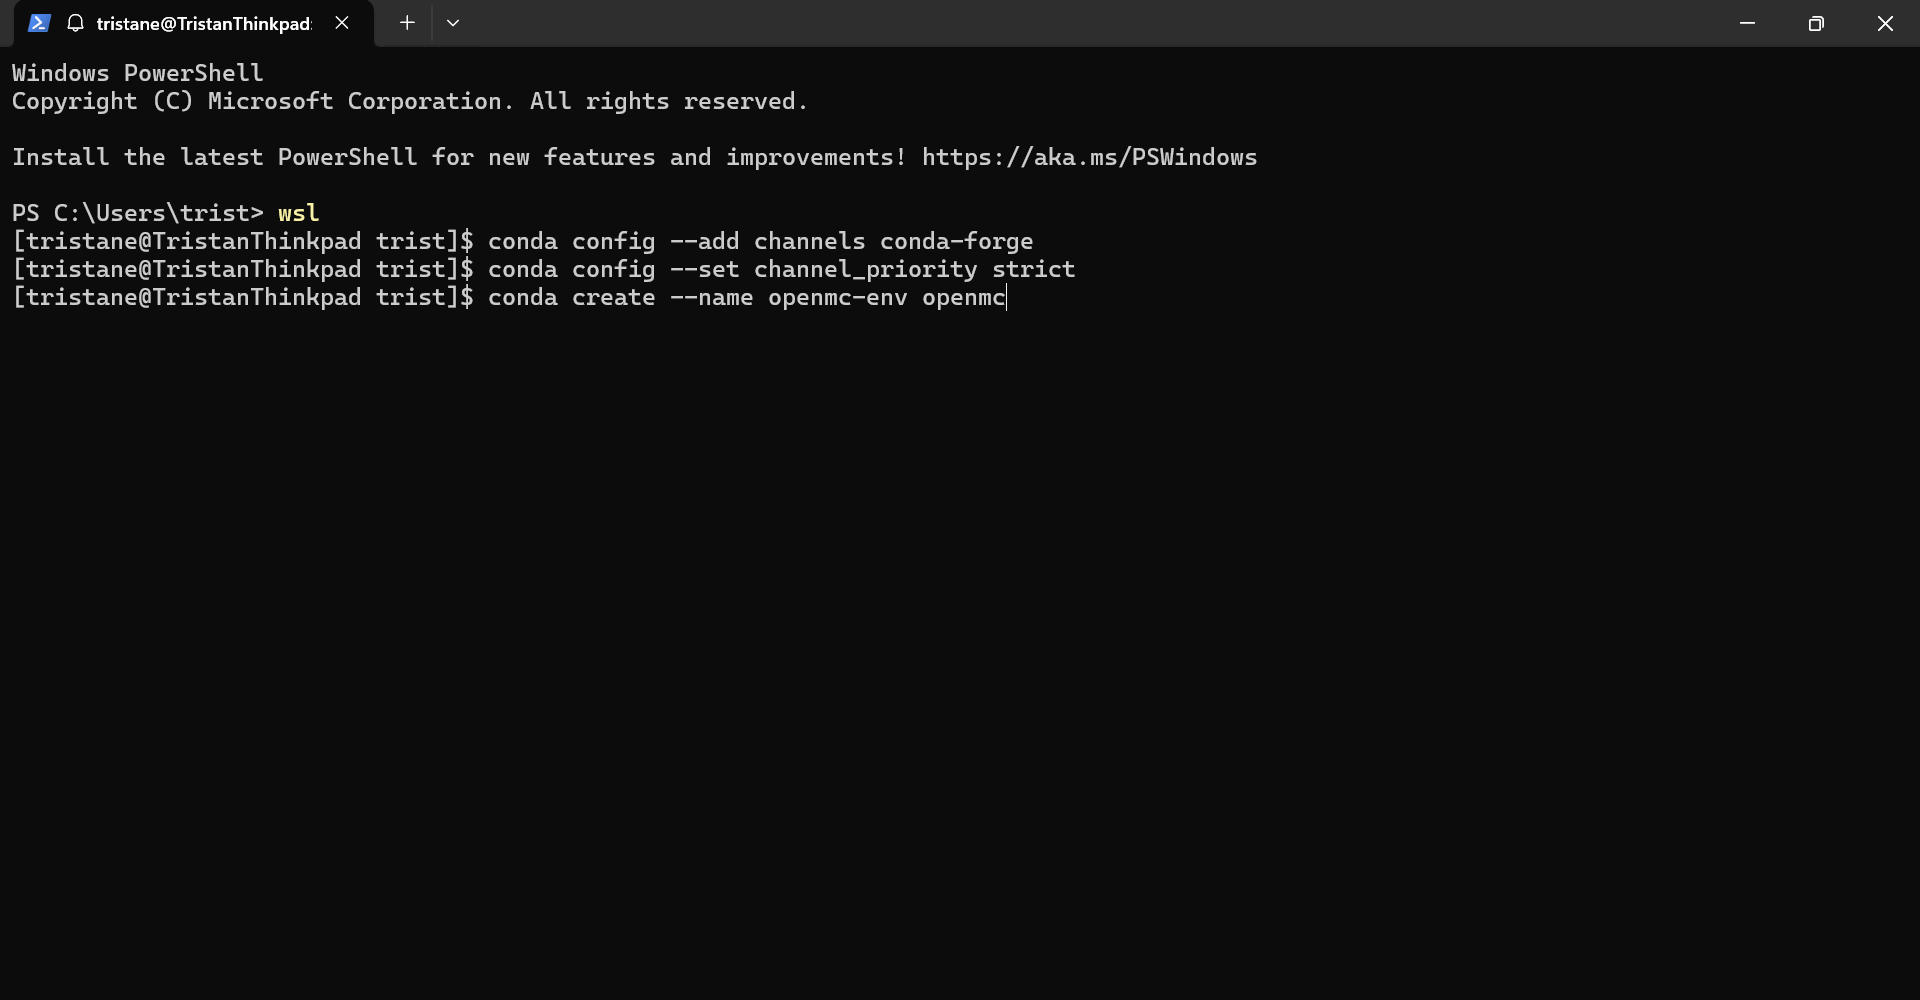
conda config --add channels conda-forge
and
conda config --set channel_priority strict
12. You can then run
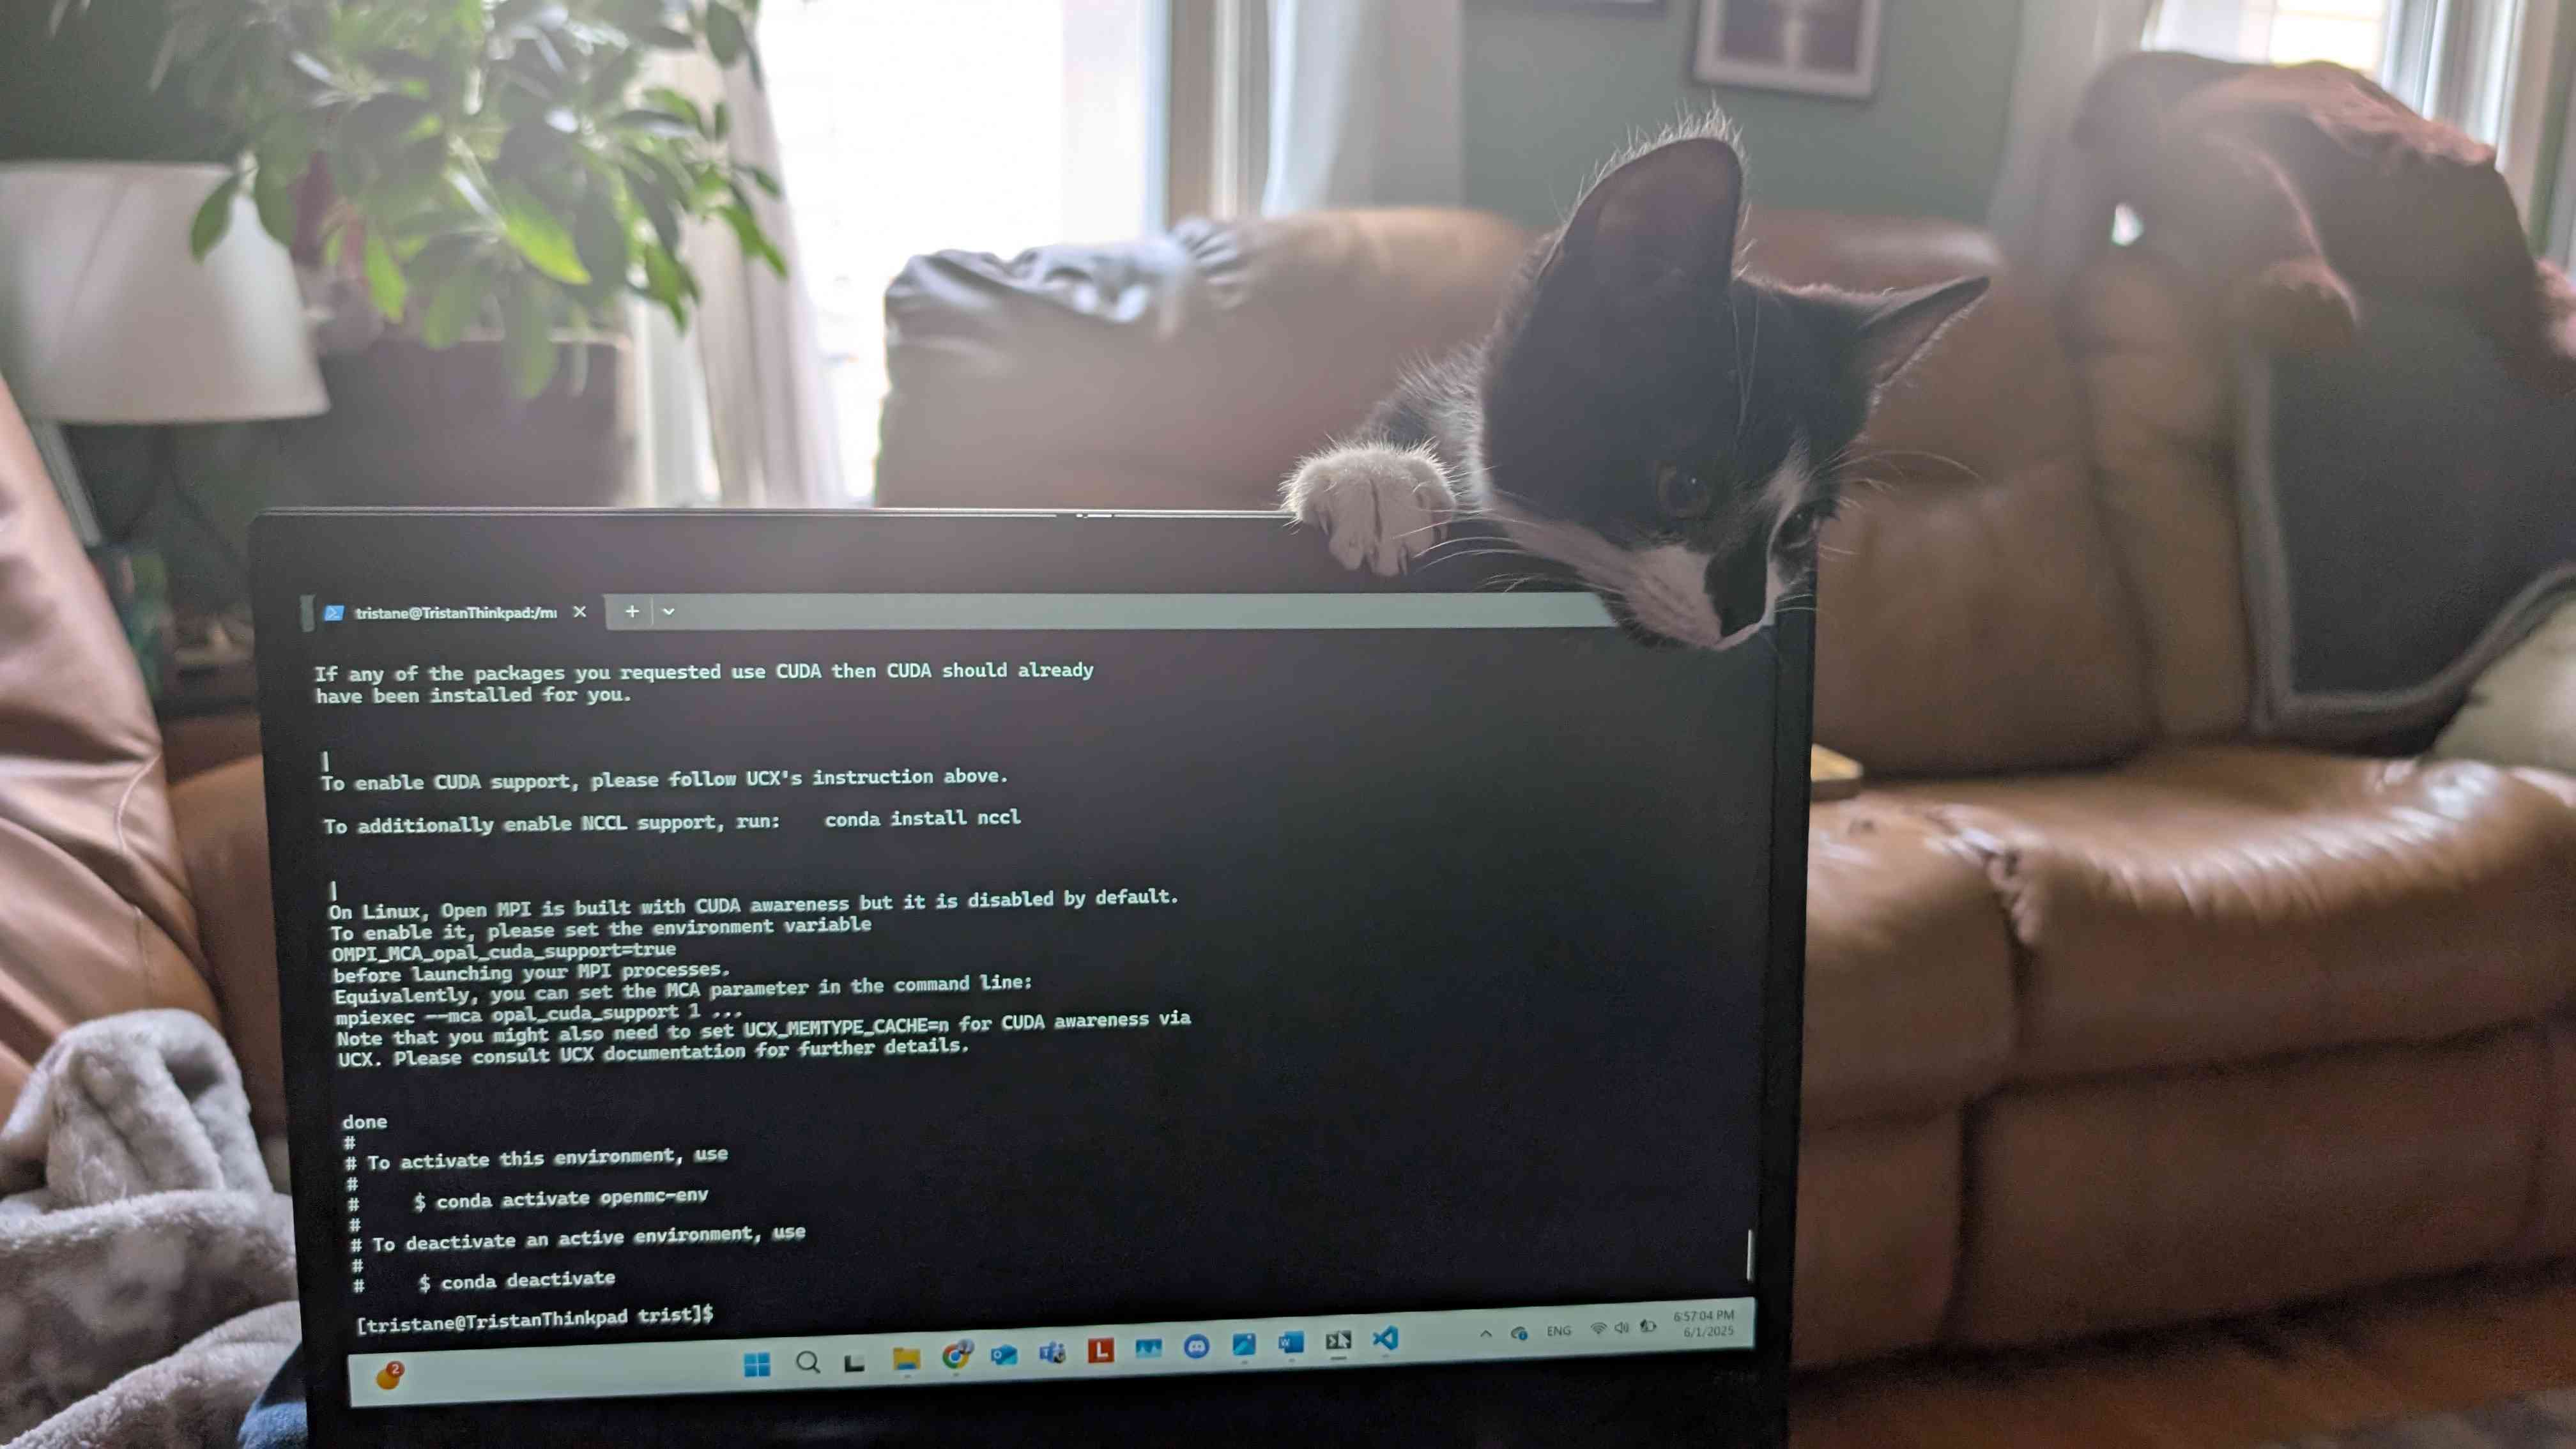
conda create --name openmc-env openmc
This creates an OpenMC environment called openmc-env, although you can name it whatever you want. This also installs OpenMC.
13. To open this environment, just run conda activate openmc-env
Now OpenMC is installed in this environment, and we must set up a way to write code in it.
Using VS Code and Jupyter Notebook
To use VS Code to make files using OpenMC, you need a little bit of setup to connect to the WSL.
14. Install VSCode on your Windows machine
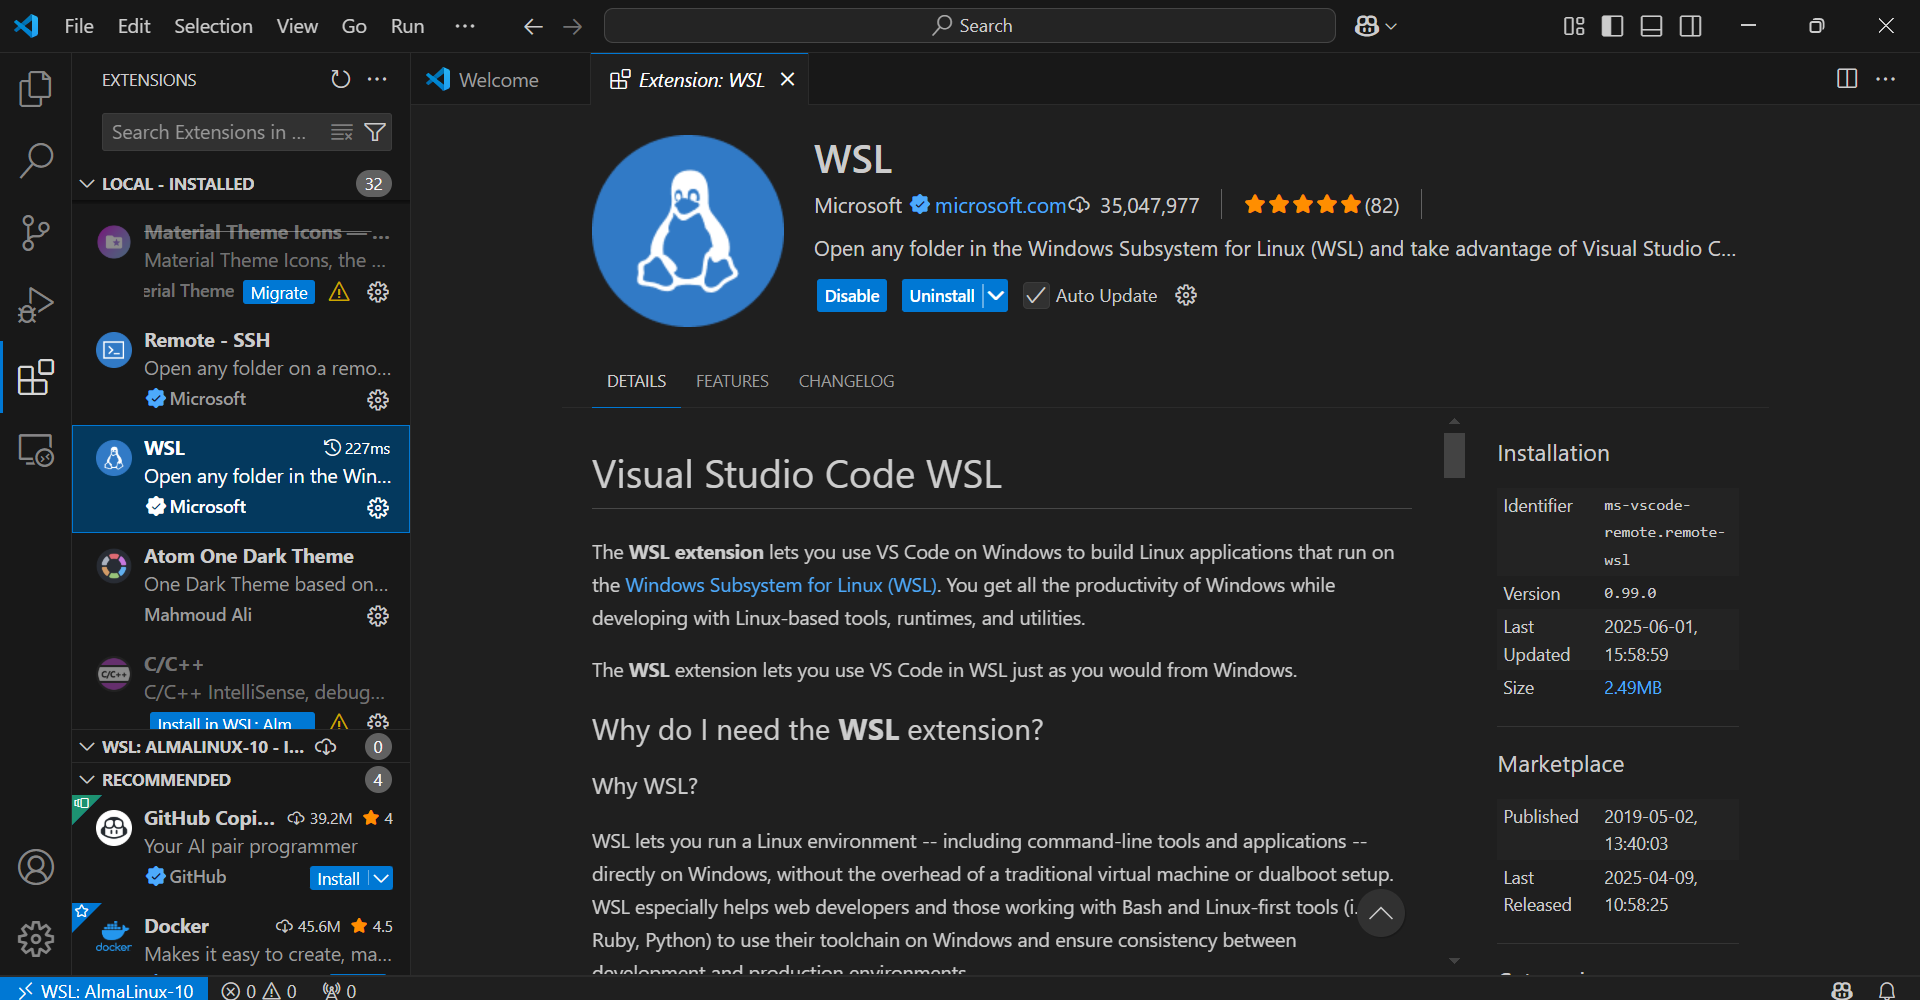
15. Install the WSL Extension in VSCode
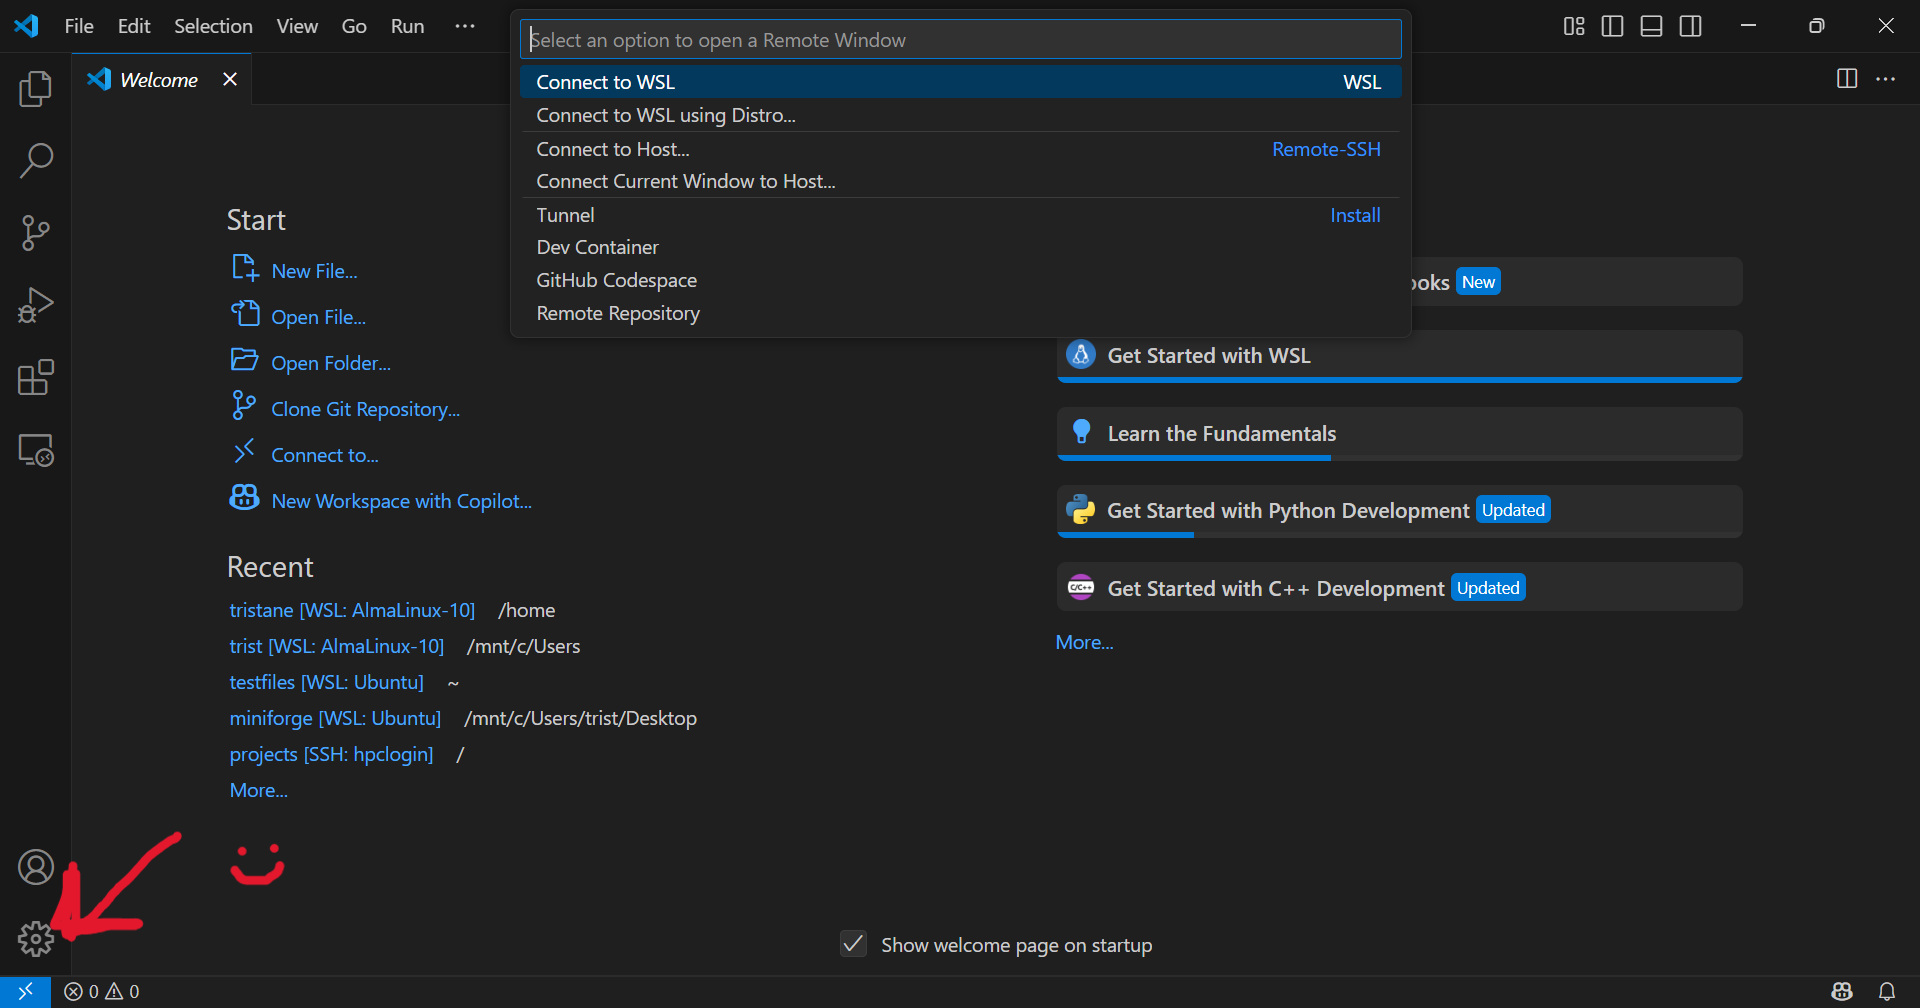
16. In the bottom left corner, click the little box with the >< symbols for to open a remote window. From here, you can connect to WSL, or choose the distro on which you want to connect to. You now can run Linux projects inside VS Code! Yippee!
17. To access your OpenMC files and work on them in VS Code, all you need to do is open your OpenMC environment inside the WSL command line, go to your files directory and run code .
 Step 166:
To run a Jupyter Notebook in VS Code, the steps are mostly the same.
18. In your OpenMC Environment, run
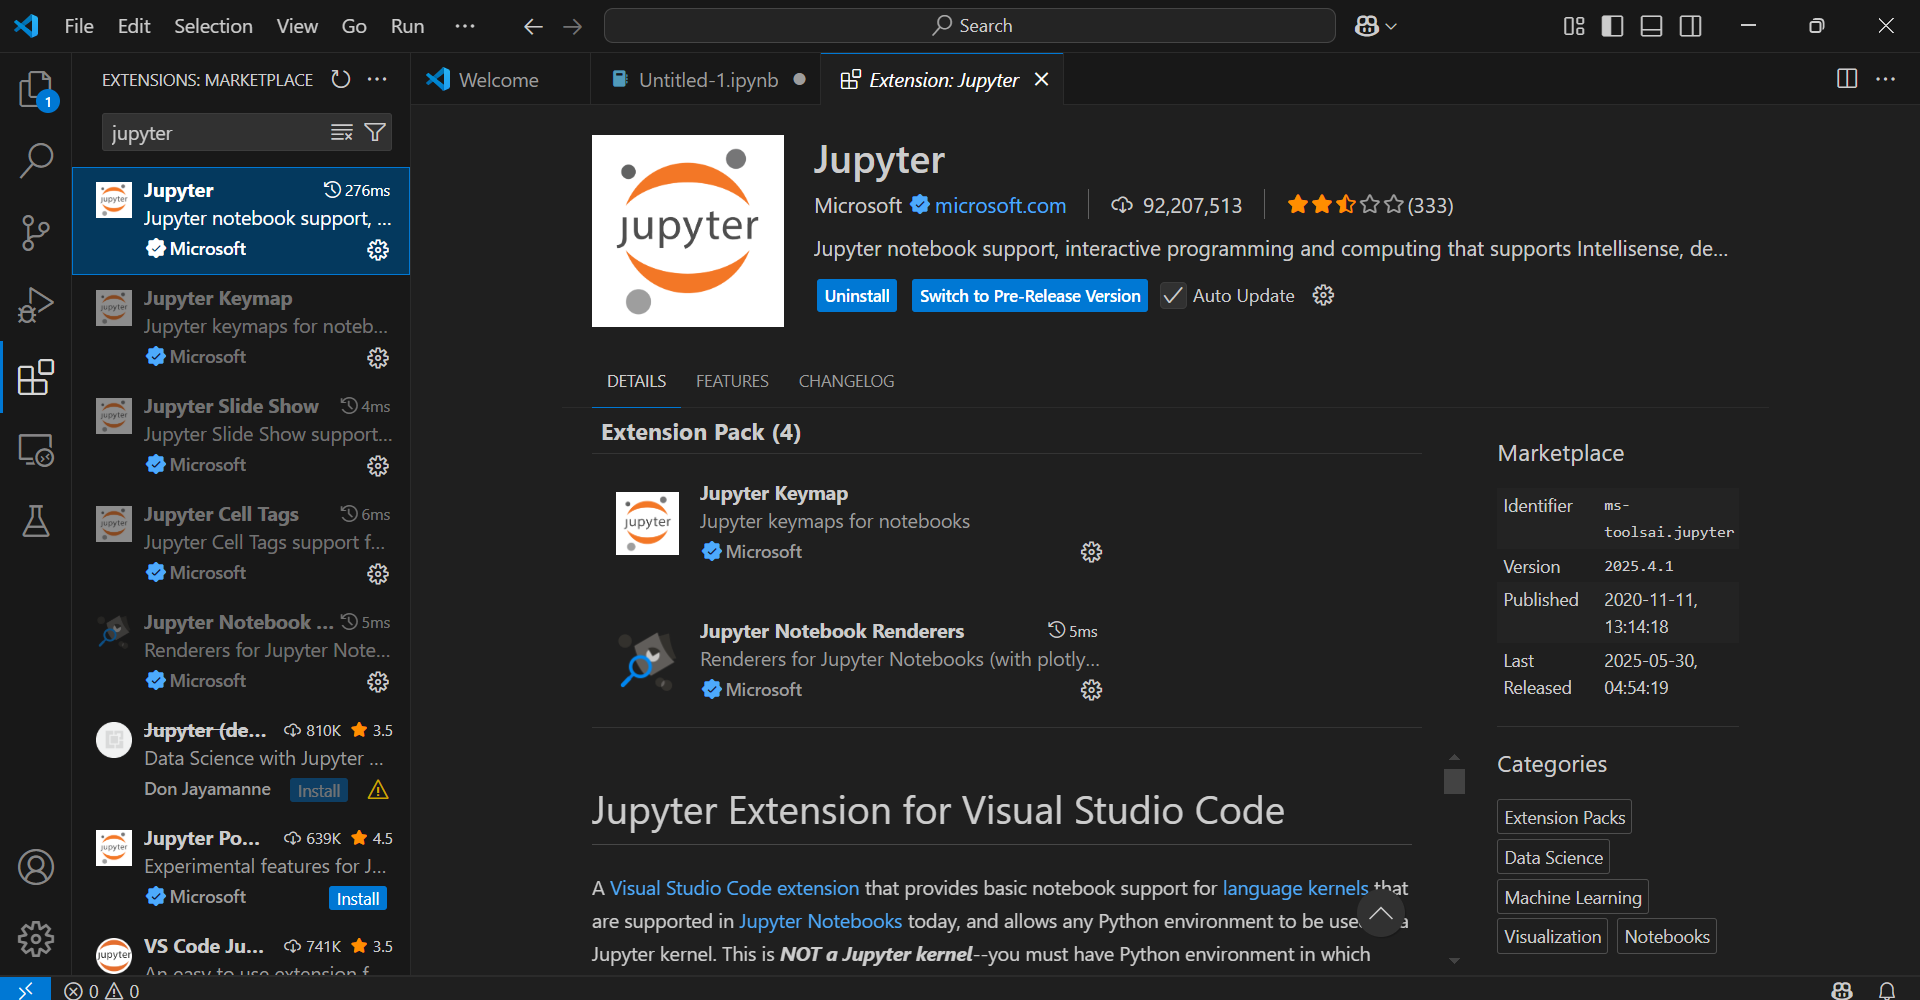
pip install notebook to install Jupyter Notebook.
19. After running code ., create a new Jupyter Notebook in VS Code.
20. In the top right corner, click the kernel select, then select python environments. There should be your OpenMC environment.
 Step 20:

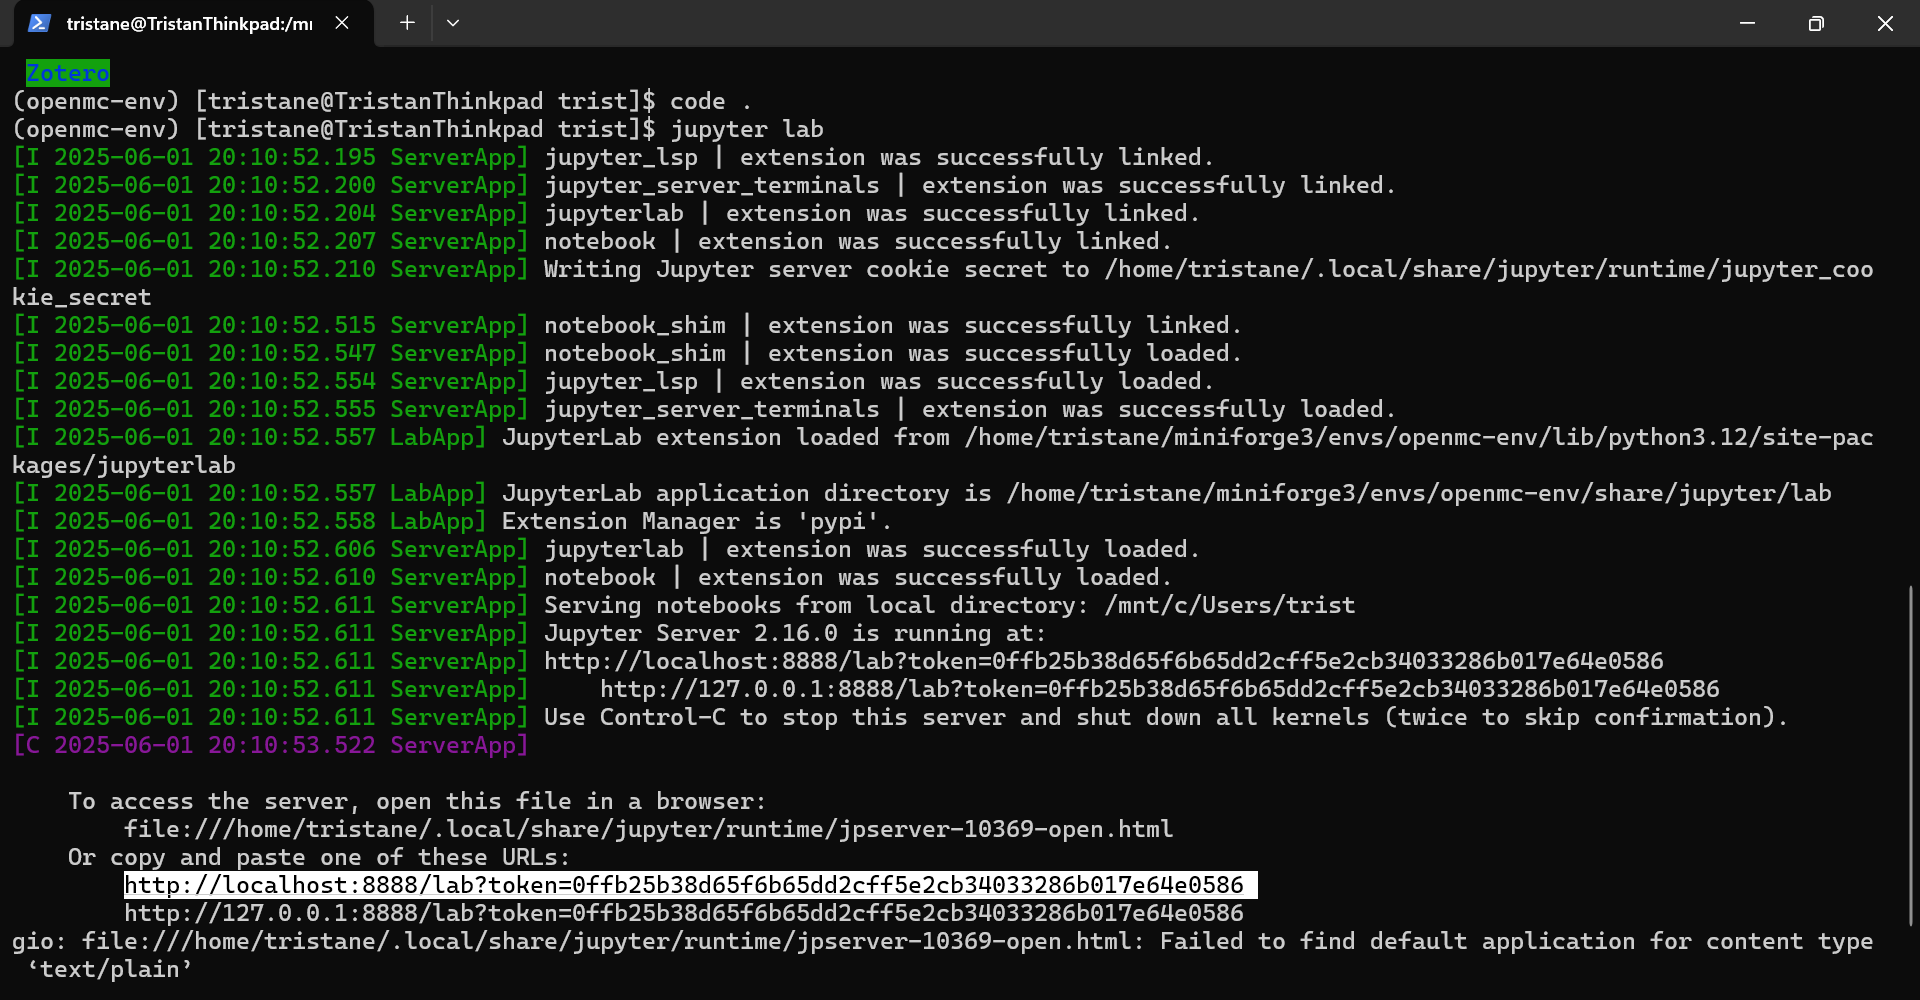
You can also run Jupyter Notebook in browser, without the use of VS Code.
21. In the WSL terminal set to your OpenMC environment, just run jupyter lab. This will give you two links, each of which will give you a Jupyter Notebook instance when put into a browser or the kernel of VS Code.
conclusion
You should now have all the tools needed to use OpenMC! Thanks everybody who made the tutorials that helped me figure this out to begin with, as well as Guernsey who helped a lot in the creation of this.
- keeperofhoney, June 2025